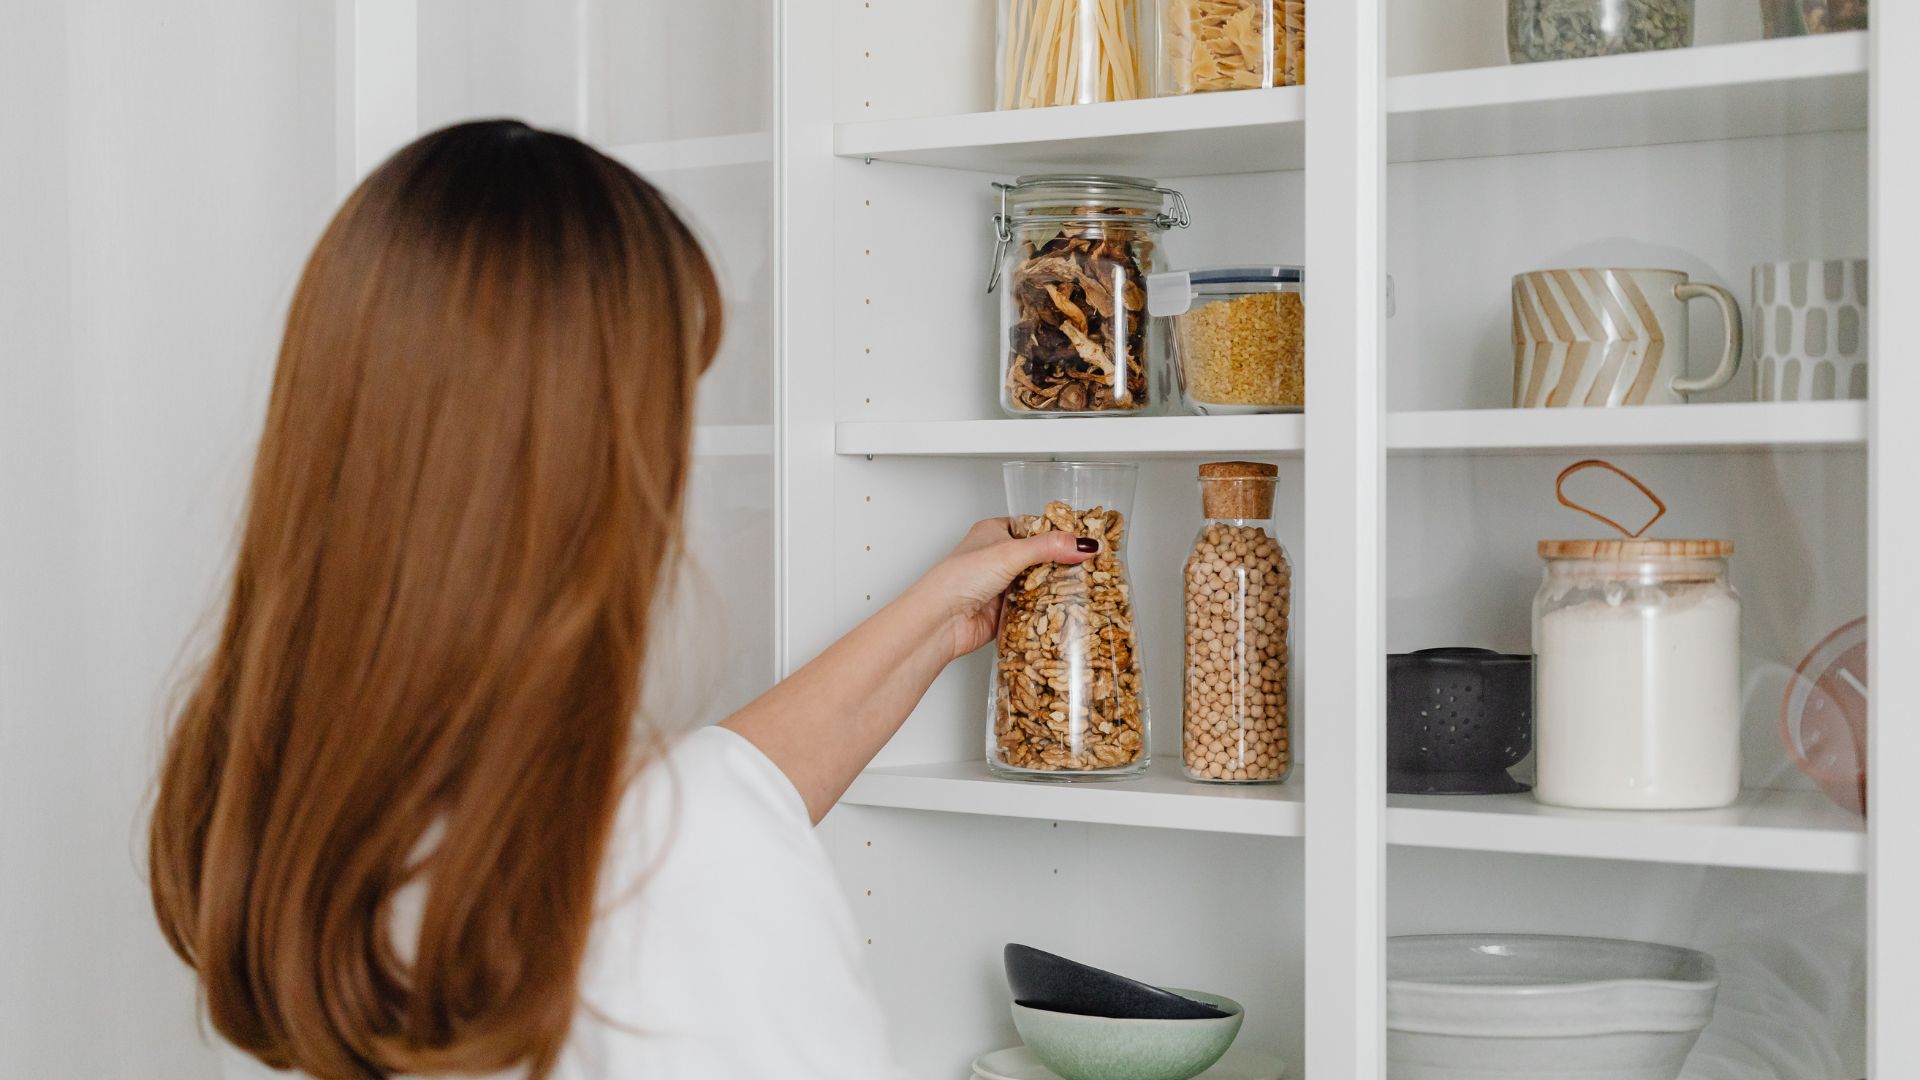
Packing for a move can be a daunting task, especially when it comes to your pantry. With perishable items, fragile containers, and a variety of food products, it’s crucial to approach this task strategically. Here’s a guide on when and how to pack your pantry to ensure a smooth and efficient move.
When to Pack Your Pantry
1. Two to Three Weeks Before the Move
Inventory and Plan
About two to three weeks before your move, take stock of your pantry. This is the perfect time to start planning how to handle the food items you have. Create an inventory of all the items, noting expiration dates and deciding what to keep, consume, donate, or discard.
Consume Perishables
Focus on consuming perishable and frozen items. Plan your meals around the food you already have to minimize waste. This will reduce the number of items you need to pack and ensure that nothing spoils during the move.
2. One Week Before the Move
Donate Unwanted Items
One week before your move, donate any non-perishable items that you don’t plan to take with you. Many local food banks and shelters accept donations of canned goods and unopened, non-perishable items. This is a great way to lighten your load and help those in need.
Purchase Minimal Groceries
During this final week, try to purchase only the groceries you’ll need until moving day. Avoid stocking up on new items to keep your packing load light.
How to Pack Your Pantry
1. Gather Supplies
Packing Materials
You’ll need sturdy boxes, packing paper or bubble wrap, zip-top bags, plastic bins, and a marker for labeling. Opt for small to medium-sized boxes for pantry items, as food can be surprisingly heavy.
2. Sort and Categorize
Group Similar Items
Group similar items together, such as canned goods, spices, baking supplies, and dry goods. This will make packing more efficient and help with organization when unpacking.
Check Expiration Dates
Dispose of any expired items. There’s no point in moving food that you can’t use.
3. Pack Smartly
Canned Goods
Pack canned goods at the bottom of boxes since they are heavy. Use smaller boxes to prevent them from becoming too heavy to lift. Place a layer of packing paper at the bottom of each box for cushioning.
Glass Containers
Wrap glass containers, such as bottles of oil or jars of sauce, individually in packing paper or bubble wrap. Place them upright in a box with plenty of cushioning around them to prevent breakage.
Dry Goods
For dry goods like pasta, rice, and flour, consider transferring them to sturdy, sealable plastic containers if they are currently in fragile packaging. Alternatively, double-bag items in zip-top bags to prevent spills.
Spices and Small Items
Place spices and small items in zip-top bags to keep them organized and prevent spills. You can pack these items together in a small box or plastic bin.
4. Label Clearly
Detailed Labels
Clearly label each box with its contents and the room it belongs to. For example, “Kitchen – Spices and Baking Supplies.” This will make unpacking much easier and more organized.
Special Instructions
Mark boxes containing fragile items or liquids with “Fragile” or “This Side Up” to ensure they are handled with care.
5. Day of the Move
Pack Essentials Last
Pack a small box of essential pantry items that you’ll need immediately upon arrival at your new home. This could include a few spices, coffee, tea, snacks, and any other items you use regularly. Keep this box easily accessible.
Temperature-Sensitive Items
If you have any temperature-sensitive items that you must take with you, pack them in a cooler with ice packs and transport them in your vehicle.
Conclusion
Packing your pantry doesn’t have to be a stressful task. By starting early, planning meals to use up perishables, donating what you don’t need, and packing strategically, you can ensure that your pantry is moved efficiently and safely. Remember to label everything clearly and keep essential items handy for a smooth transition to your new home. With these tips, you’ll be ready to tackle your pantry packing like a pro.


.svg)


