Properly labeling your moving boxes is a crucial step in ensuring a smooth and stress-free unpacking process. Effective box labeling not only helps you find items quickly but also ensures that fragile items are handled with care. By following these simple tips, you can streamline your unpacking process and make settling into your new home a breeze.
1. Use Clear and Descriptive Labels
When labeling your boxes, be sure to use clear and descriptive labels that accurately describe the contents inside. Avoid vague labels like “miscellaneous” or “kitchen items” and instead, specify the contents in more detail. For example, instead of labeling a box as “kitchen items,” you could label it as “pots and pans” or “utensils and gadgets.” This level of detail will make it much easier to locate specific items when unpacking.
2. Color-Code Your Boxes
Consider using a color-coding system to organize your boxes based on room or category. Assign each room or category a specific color, and then use colored tape or stickers to label the boxes accordingly. For example, you could use blue for kitchen items, green for bedroom items, and red for bathroom items. This visual cue will help you quickly identify which boxes belong in each room, making the unpacking process more efficient.
3. Prioritize Boxes for Immediate Use
Label some boxes as “priority” or “essential” boxes and pack them with items you’ll need immediately upon arrival at your new home. This could include things like toiletries, bedding, basic kitchen supplies, and important documents. Clearly mark these boxes with a distinctive label or symbol so that you can easily identify them and unpack them first.
4. Label Fragile Items Clearly
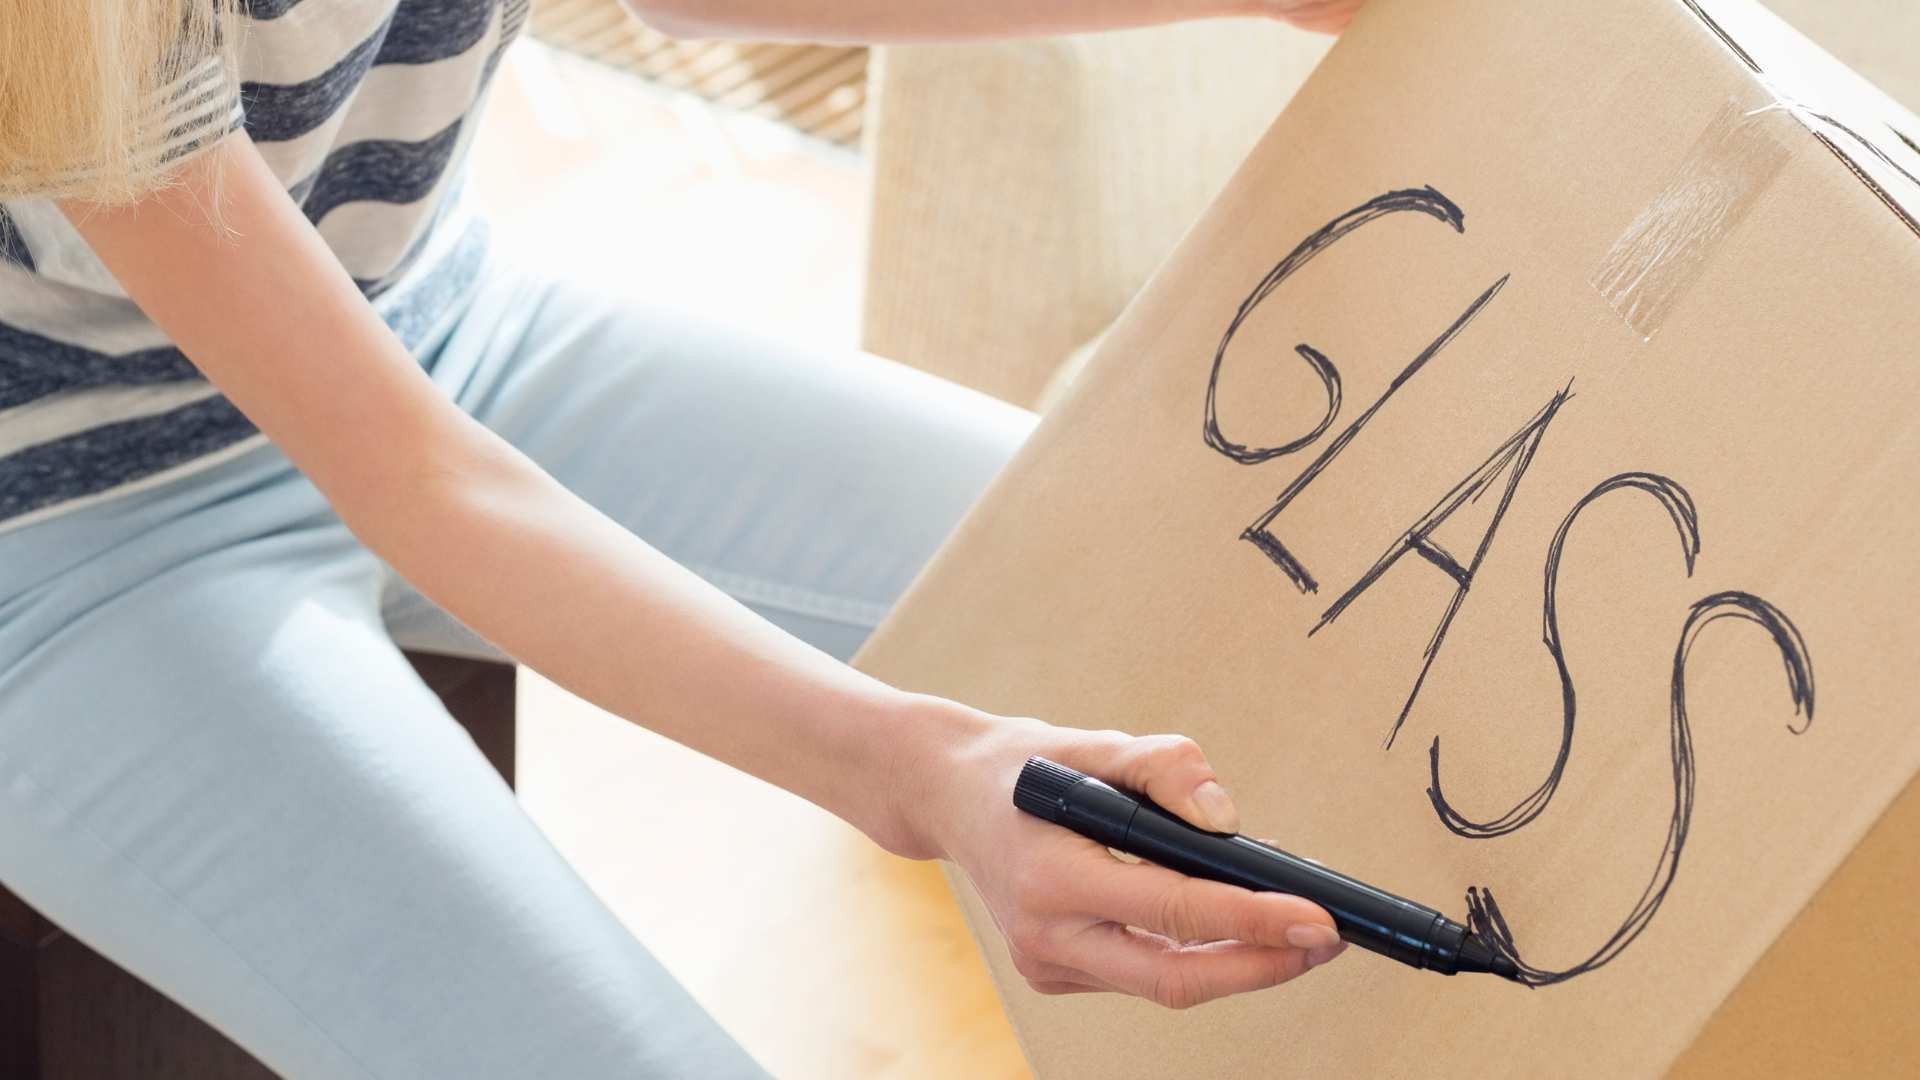
If you’re packing fragile items, be sure to label the boxes clearly to indicate that they contain delicate items. Use a bright-colored label or write “fragile” in large, bold letters on all sides of the box. Additionally, consider adding extra padding or cushioning to protect fragile items during transit.
5. Include Destination Room on Labels
In addition to describing the contents of each box, include the destination room on the labels as well. This will help movers or friends assisting with the move know exactly where each box should go in your new home. For example, you could label a box as “bedroom – linens” or “living room – books.” This simple addition will save you time and effort when unpacking.
6. Maintain a Master Inventory List
Keep a master inventory list of all your boxes and their contents. This can be a handwritten list or a digital spreadsheet, depending on your preference. As you pack each box, make a note of its contents and assign it a unique box number. Keep this list handy during the unpacking process so that you can easily track which boxes have been unpacked and where specific items are located.
7. Update Labels as Needed
Finally, be prepared to update or add labels as needed throughout the moving process. If you add items to a box after it’s been labeled, be sure to update the label accordingly. Similarly, if you realize that a box is mislabeled or needs to be repacked, take the time to correct the label before moving it to your new home.
By following these tips for effective box labeling, you can streamline your unpacking process and make settling into your new home a breeze. With clear and descriptive labels, a color-coding system, and careful planning, you’ll be able to find items quickly and efficiently, allowing you to focus on turning your new house into a home.
3.5


.svg)


